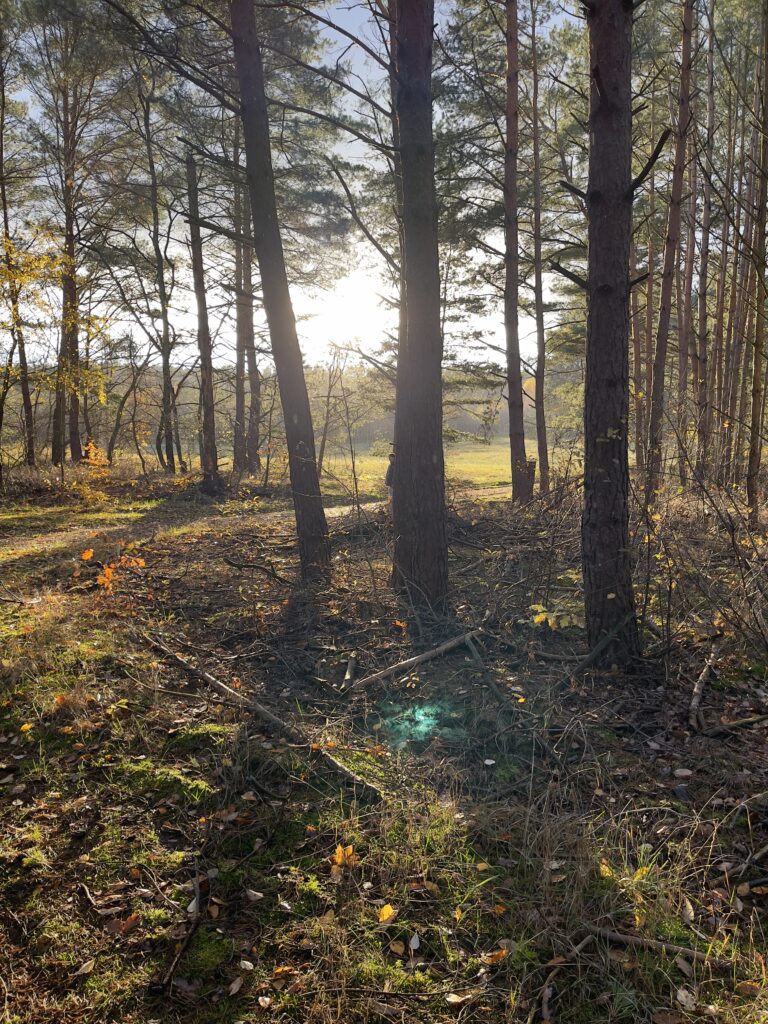
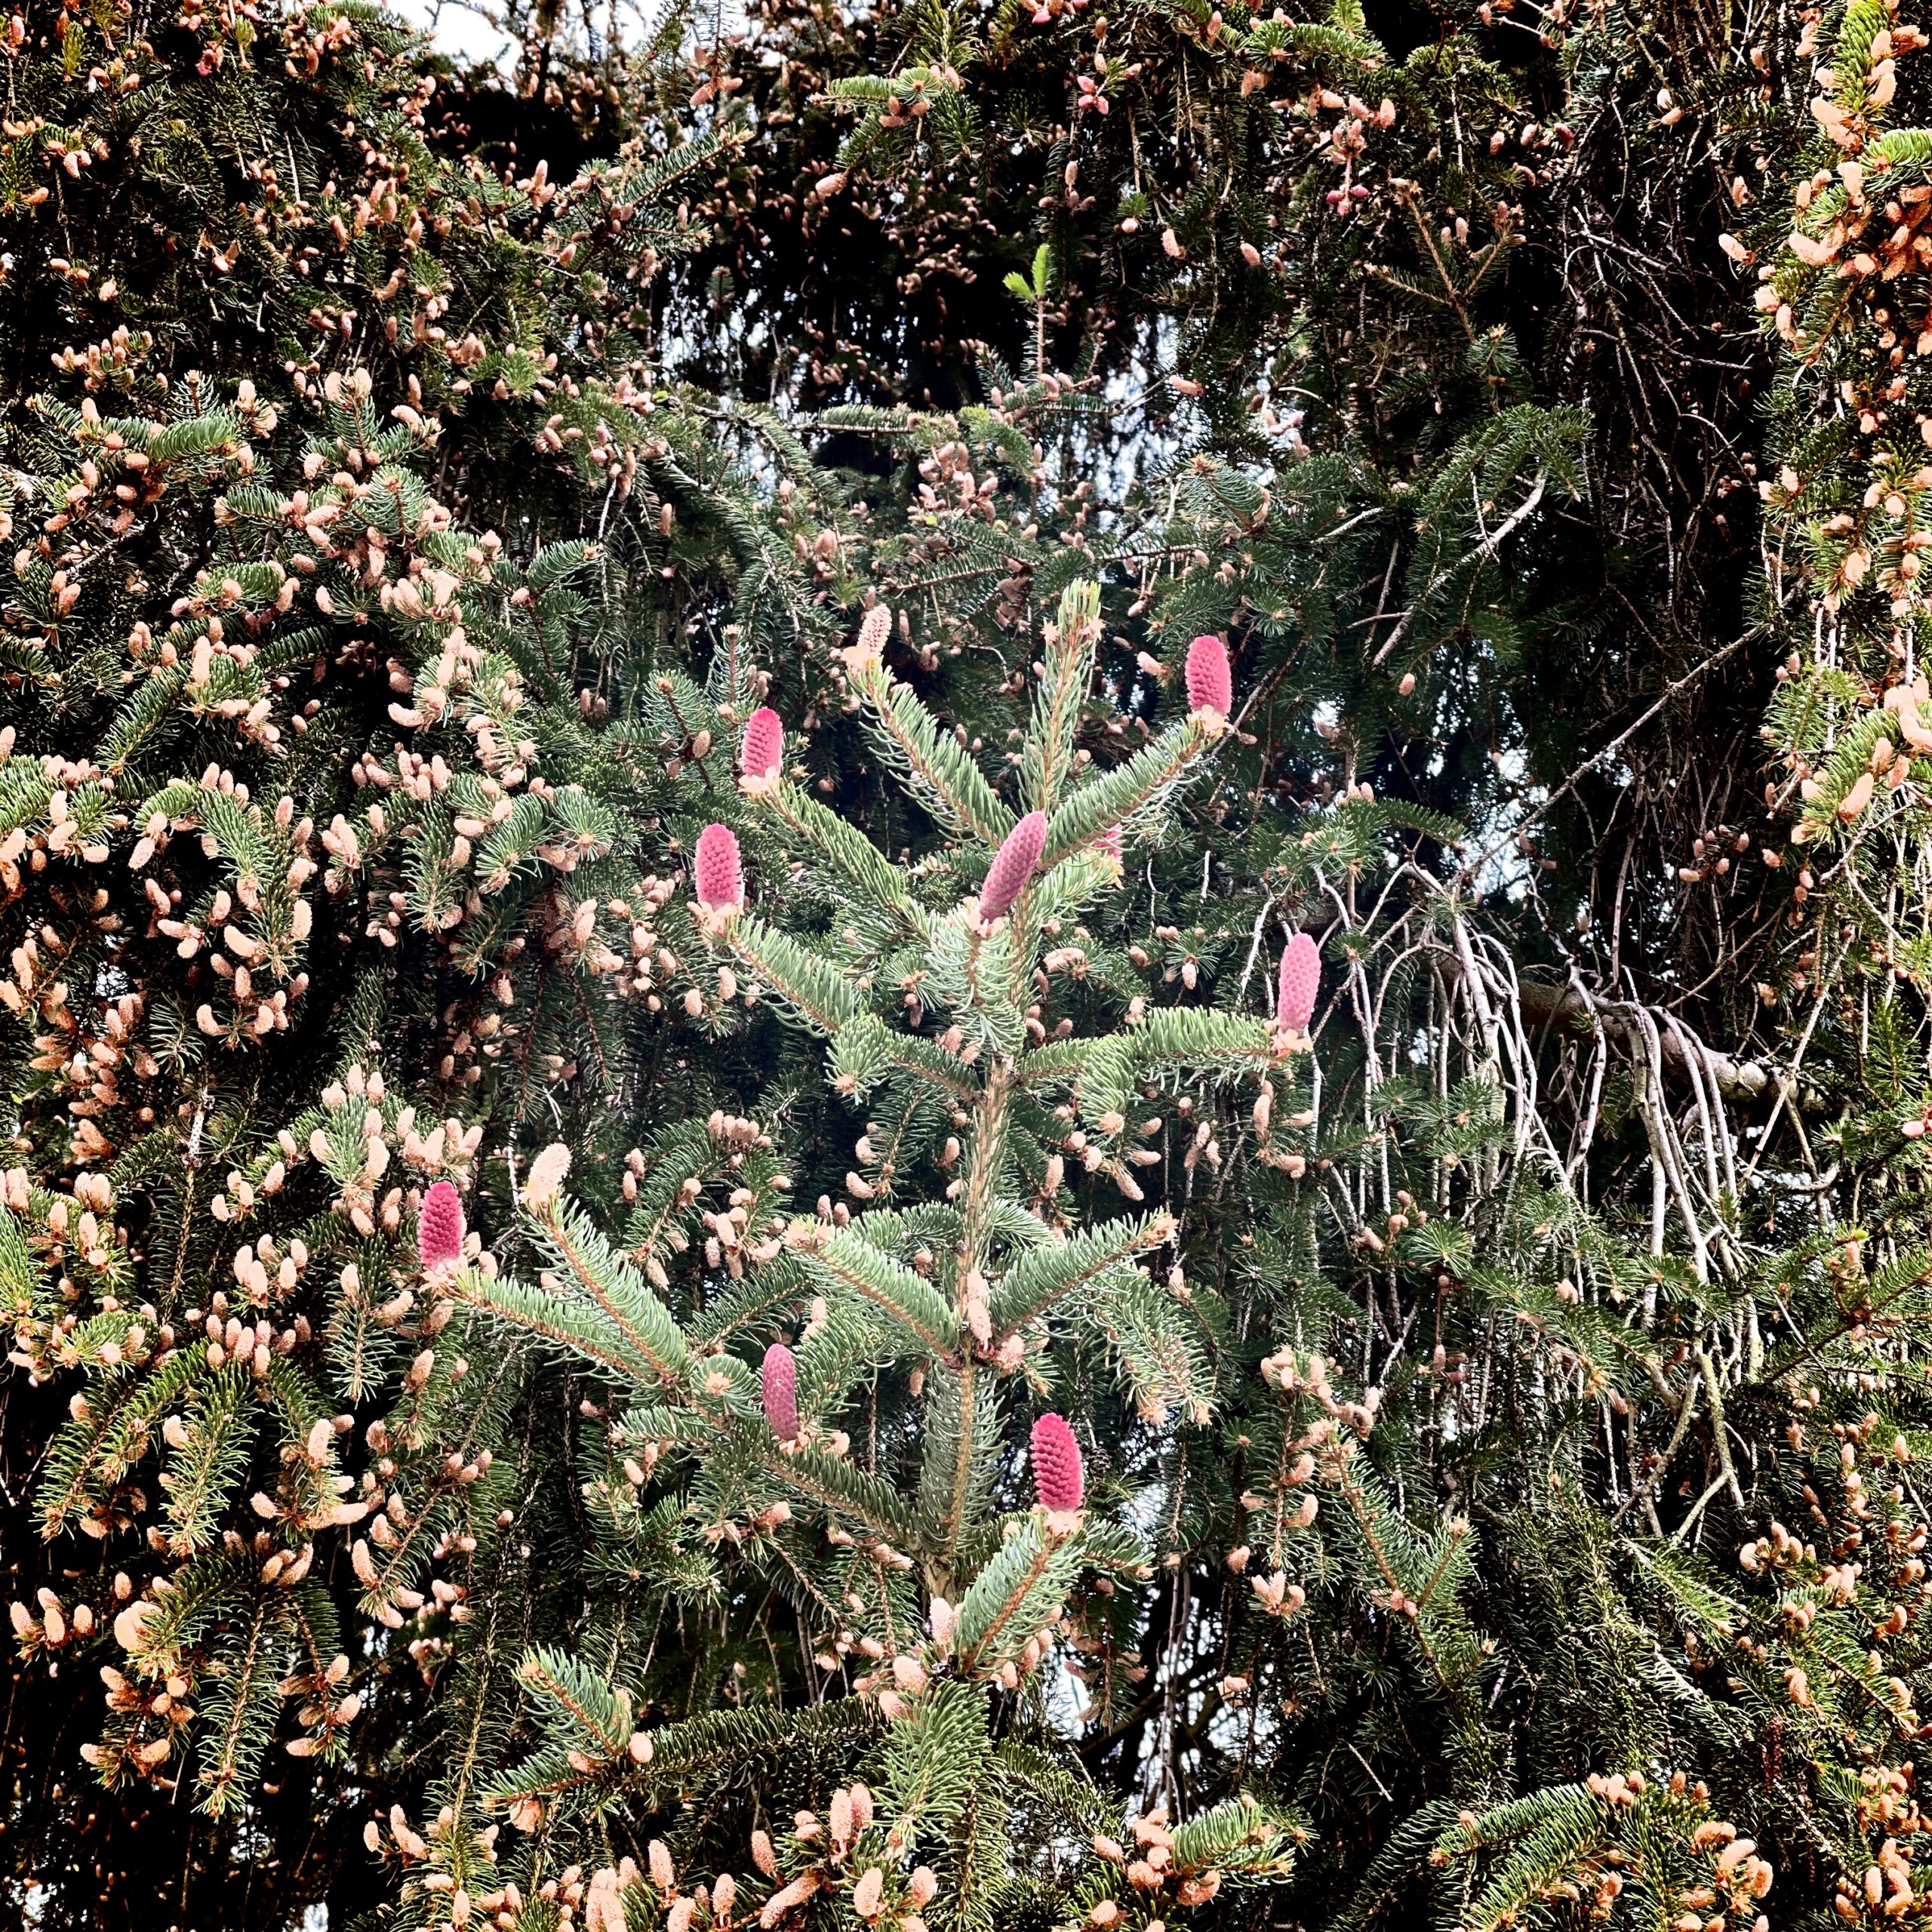
Saw these fancy fresh red pine cones on the weekend #Uckermark


Ok, now testing #IceCubes #Mastodon app from the iPhone with #WordPress status post type
OmniGroup released a new major version of OmniFocus this week. So I upgraded and installed the new app on my Mac. This replaced the old app and didn’t import the old database. But instead relies on the Sync setup I guess.
I thought that wouldn’t be a problem as I’m using their OmniSync server to sync my database between devices. Entered my OmniSync credentials and thought it would just sync. But instead it asked me for a document decryption passphrase … which I didn’t recall.
Browsing through their help document it appears that when they initially introduced the OmniSync service the device used the account passphrase to encrypt the database before transfer to their server. So the database sits encrypted on their servers.
At some point later I had changed my password for the OmniSync service. But the passphrase for the database encryption didn’t change. Unfortunately I don’t remember the old account password and thus can’t decrypt the database after sync.
The app which still syncs to the server also does not show this password. I can reveal the OmniSync account password on the device, but not the encryption password.
Fortunately I still had the old OmniFocus 3 app on my iPhone with a recent copy of my data. The new OmniFocus 4 installs in parallel on the iPhone and has the same syncing issue as the desktop app. The OmniFocus 3 app can’t export its own backup for import into any of the other app instances. So what now?
I ended up turning off the sync on the OmniFocus 3 app on the phone. Then configured a new sync to my own private WebDav server (NextCloud). Idea was, that I’d sync now via WebDAV instead of the OmniSync service.
On the initial setup I entered my NextCloud username and password and clicked on “Sync”. But that gave me an error message. Because I’m using 2FA on NextCloud I first have to create an app-specific password in NextCloud. Did that and went back to OmniFocus 3 on the iPhone. But in the settings there is no fields for username and password. Just the Server URL for WebDAV. I’m starting to curse silently …
Apparently there is no way to change the credentials once you’ve entered them in OmniFocus … Found one blog entry where someone had to reset their OmniFocus database to get to change the credentials. That is what I definitely want to avoid.
Lucky enough I was able to put the credentials directly into the URL as https://username:password@server.url
This finally enabled the WebDAV sync and uploaded my OmniFocus database to my NextCloud server. I then entered the same settings into the OmniFocus 4 desktop app. Now again it was asking me for a decryption passphrase …
I checked the OmniFocus 3 app on the phone and revealed the password in the WebDav settings. Surprisingly this was a password I recognise. Not the one for my OmniSync account and not the one for my NextCloud account. Nor the app specific NextCloud credentials…. I have no idea where from OmniFocus was pulling this password…
And of course … this password I tried with the OmniSync service for decrypting the database. But it didn’t work either.
At least I’ve got a working sync now after the upgrade to Version 4 …
good start into the week with an 90 min gym session. Winter is gone in Berlin, so was able to ride the bike into the office.
Had to drive to the countryside to meet an engineer from Enpal Solar for onsite inspection of our house. They are supposed to make an offer for a PV with storage and Wallbox. The good thing about their offer seems to be it’s really all inklusive. one doesn’t have to worry about permissions, craftsmen etc.
On the backside … their offer sounds really expensive compared to the mere bill of materials. We’ll see.
Later in the day iOS 17.2 was released with the new Journal app. A direct competition to apps like “Day One” I’d say. But after playing around for a bit I’m rather underwhelmed. The automatic suggestions are nice, but the UI over all seems uninspired. Also the app is only available on iOS. Not on the desktop or web (yet). Makes it less useful for me really. But I guess Apple will evolve it over time and eventually push other journaling apps out of business. Bad monopoly move.
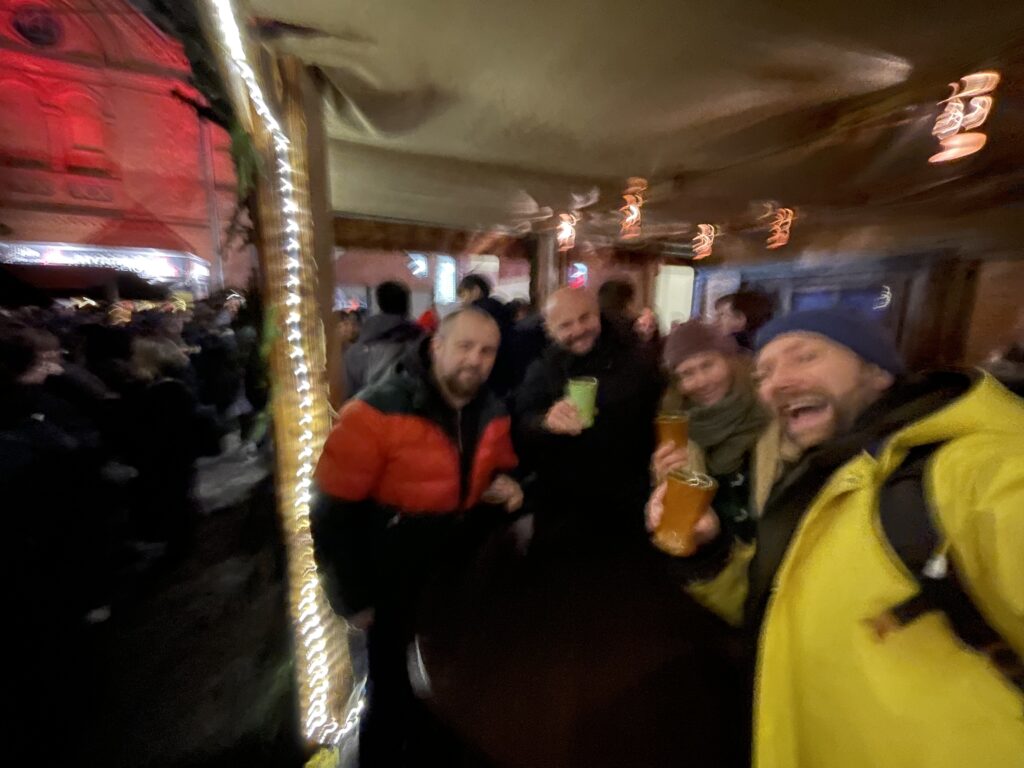
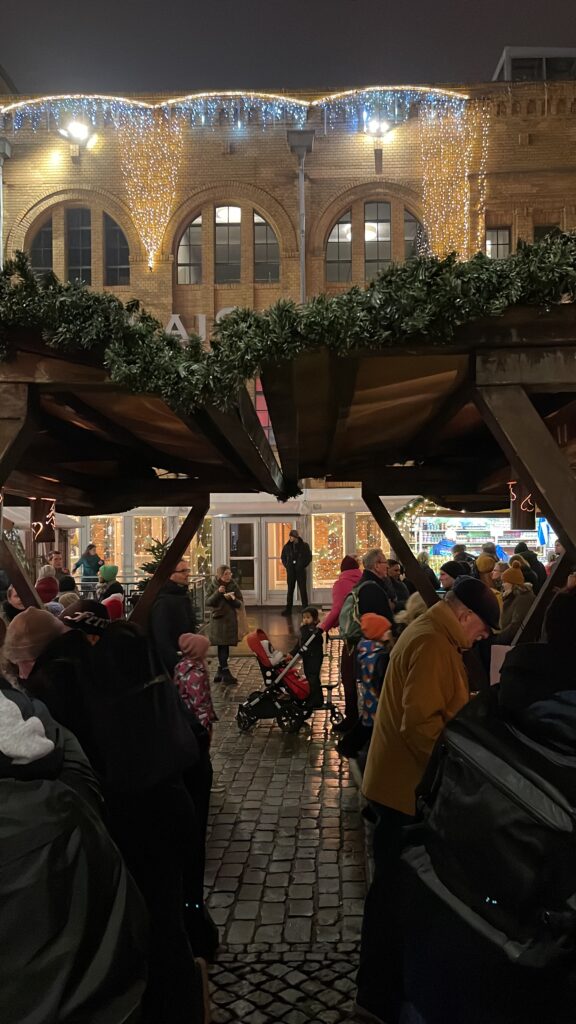
A small group of colleagues met at the Christmas market at Kulturbrauerei. Since our teams are now mostly scattered all over the world, the team spirit is a bit trickier to maintain than in the good old days. The remainder of the Berlin systems engineering force got together to enjoy a few Glühwein and Bratwurst at the Christmas market. Kulturbrauerei was only food and crafts stuff. No loud music and other fancy stuff. Still too many people for my taste.
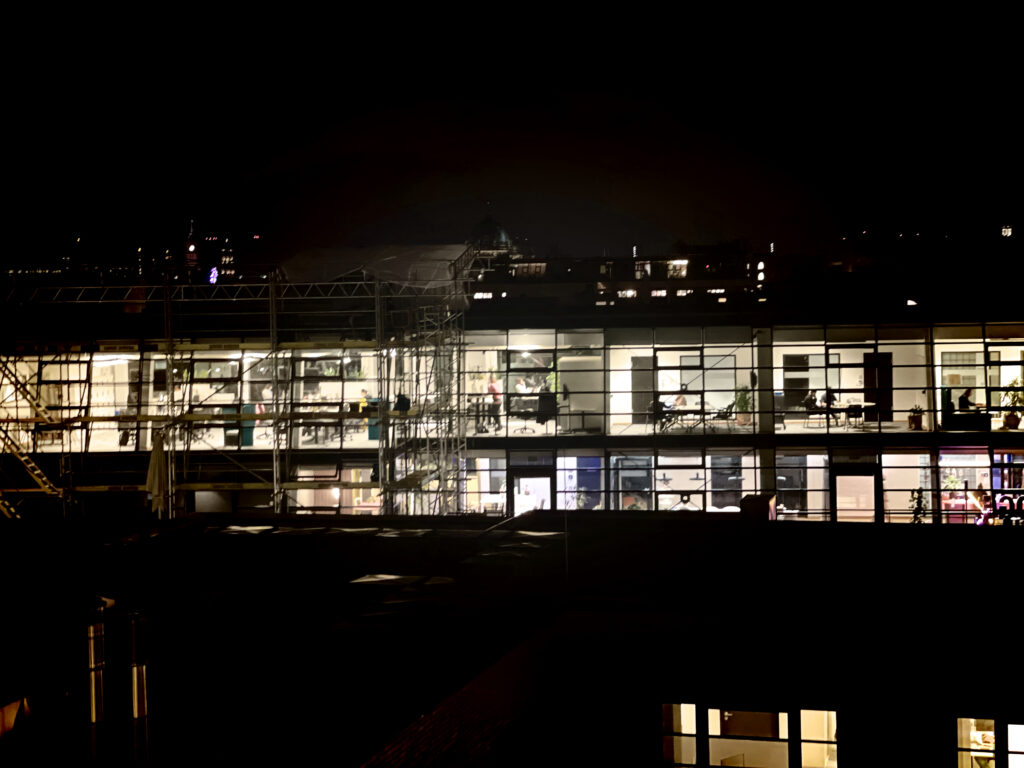
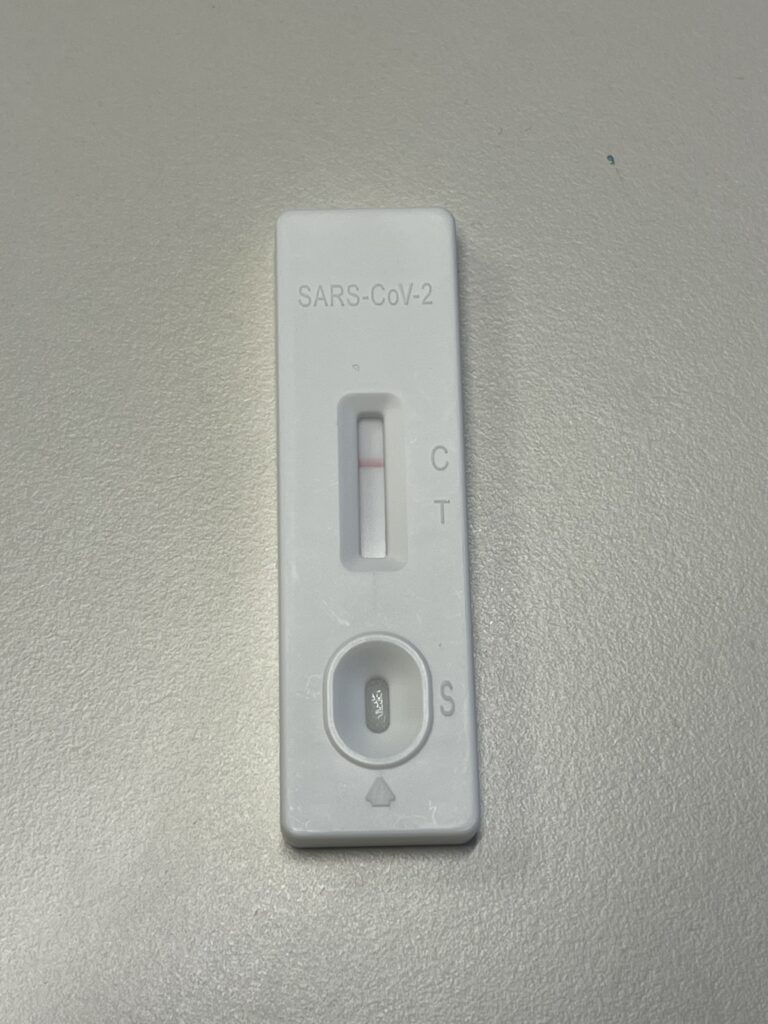
Our Berlin office Christmas party took place in the office this year. OK with me. What I liked was the fact that the company offered voluntary company sponsored COVID tests upfront for all participants. I hope that many people took the chance and tested themselves. As usual, I came out negative. Which is positive I guess.
Metas microblogging/fediverse network Threads.net is now available in EU. People in Europe can now download the app and turn their Instagram Account into a mastodon-like account with Threads.net.
And of course, no day on the internet without drama. So immediately some instances where shouting out that they will block threads.net on their instances because Meta is evil.
I’ll not (yet) block threads.net on the instance level. I’ll let the individual users decide. I had myself a look at the app. One can read without creating an account. Thats good. But for me it also made it clear at the first glimpse that it’s not even remotely interesting. It seems the same capitalistic shitshow that Twitter was and Instagram is to some extend.
In more exciting new the new Hipstamatic V10 was released. Thats one of my earlier iOS apps at all. I like their visual design and the idea of just combining lenses and films to get digital image effects instead of working with filters. Effectively it’s the same, but I like the skeuomorphism of the app.
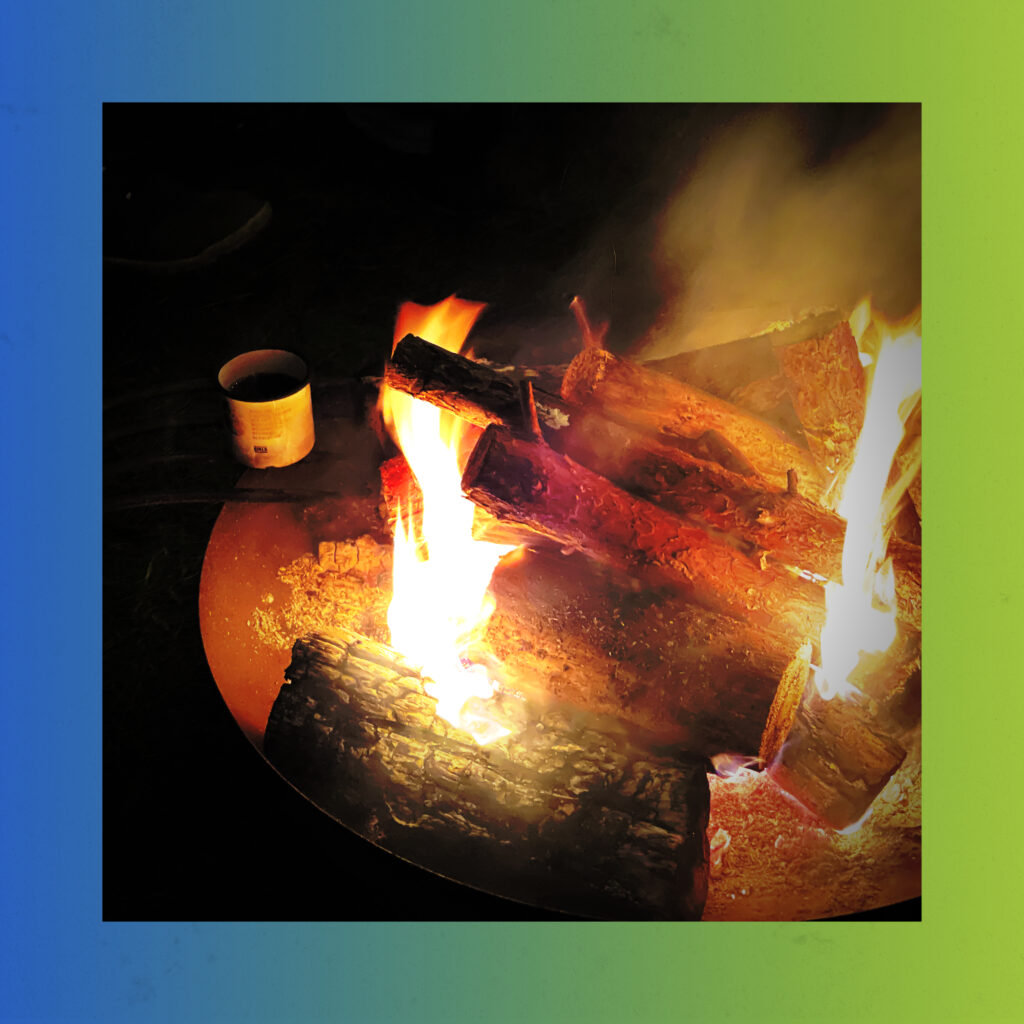
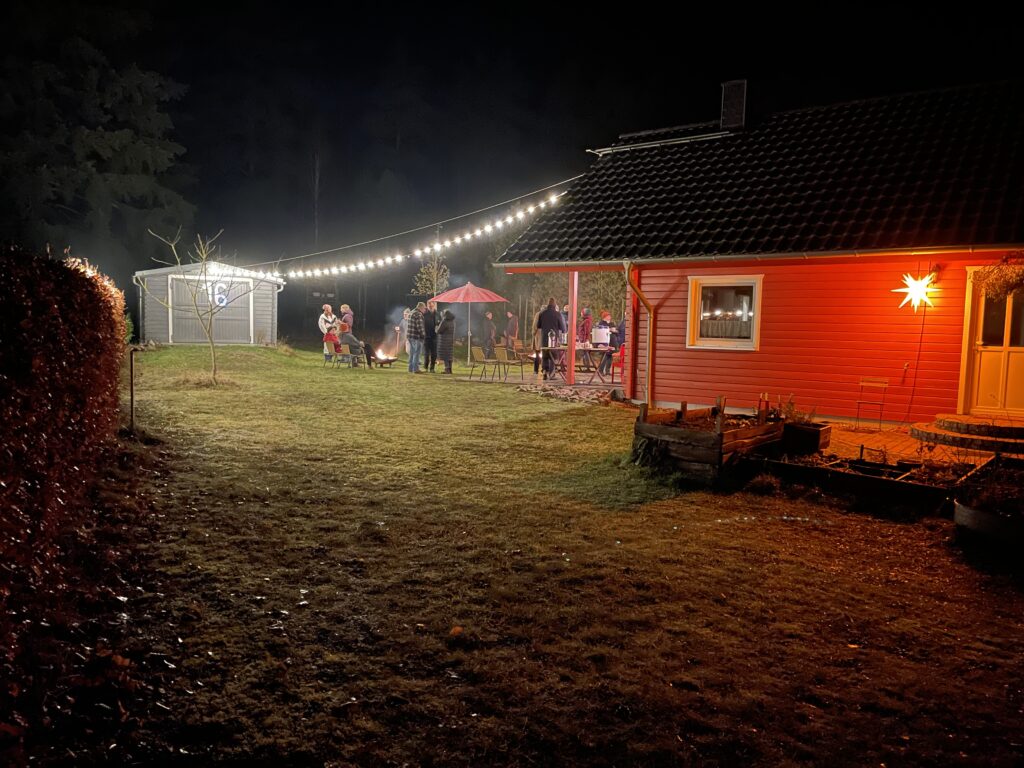
The second year in a row our little village community organised what we call a living advent calendar. The idea is to bring the people together for some cosy winter evening. Every day in advent a different household hosts a session and treats the guests with warm beverages, food and all sorts of entertainment. This way you get to know the neighbours better and hopefully make new friends as well.
This Saturday was our turn again and we performed some house music with the accordion and piano. Of course there was Glühwein, Schmalzstullen and fire pits.

Sheeessh, the year is almost over… time flies.
This week I looked into possible alternatives for Evernote. I pump all my documents into Evernote since decades. It’s a trusty store for all my admin stuff and some notes and has saved my bacon several times when traveling. Whenever I needed some official documents (birth certificates, marriage certificates etc.), I was able to pull them out of Evernote and unlock the things like immigration into South Africa or getting temporary passports at the embassy.
But it’s always good to have alternatives in case the enshittification of services spreads to further tools I use. I also like (and dislike) being in complete control of my own data. So looking at services that would keep notes in a durable format, sync across devices via my own facilities and can possibly import Evernote data.
This time I took a deeper look at Obsidian. A free for personal use note editor that stores in MarkDown files. Sync can be done via file sync services like iCloud Drive, DropBox etc.
Obsidian also offers their own paid sync service.
Using iCloud Sync isn’t optimal as iCloud now has this on-demand sync. If files are not needed for a while, they’ll be deleted from the device and downloaded on demand once needed again. This however will mess with Obsidian as it expects files to be there.
I found a community plugin for Obsidian which offers a live sync capability via a CouchDB. That I can host myself and thus have all the data location and syncing under my control.
But it turned out that plugin is still under heavy development and changes features rapidly. At least the E2E encryption was replaced while I was testing. That requires a re-sync of the whole database.
I had exported all my Evernote notebooks into the ENEX format. Obsidian is able to read this and import the notes including their attachments and some metadata. So far so good. But turns out that almost 6GB of data seems a bit too chunky for my CouchDB setup. Syncing one device took several days. Given that the plugin changed and I had to re-do the syncing several times … too much hassle for the moment.
I eventually decided to not put the heavy Evernote archive into Obsidian. The app is more for note taking, not so much for storing Documents (as in PDFs and other attachments). Notes are much smaller and sync almost instantly via the CouchDB backend.
This week the famous Spotify year review came out. Not much surprise in there. I also believe that the stats are wrong. I do like Queens of the Stone Age. But now way I was listening to “Feed don’t fail me now” more often than songs from one of the other top artists in the list. Anyway..
And I know that people keep complaining how Spotify is not paying the artists fairly. For me Spotify is almost the exclusive way to consume music nowadays. They run the infrastructure and pay for the network bandwidth to deliver the music as well as providing clients and integration into a lot of appliances. A hear nobody complain about the major records labels anymore. What value do they provide these days in getting the music to the fans?

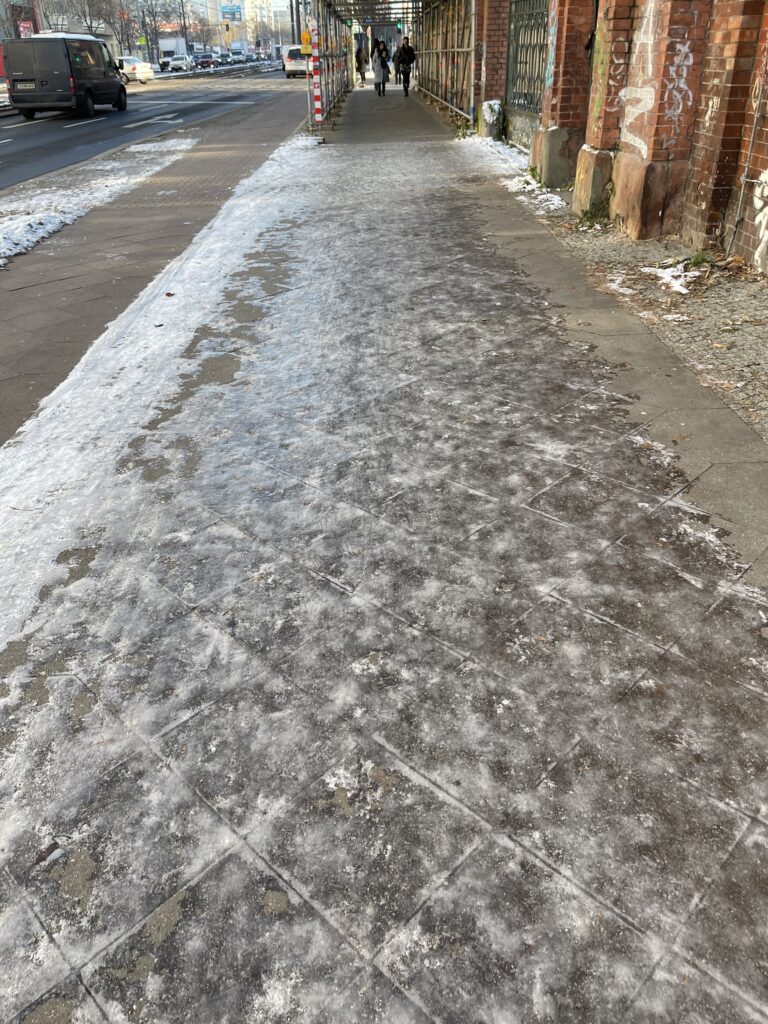
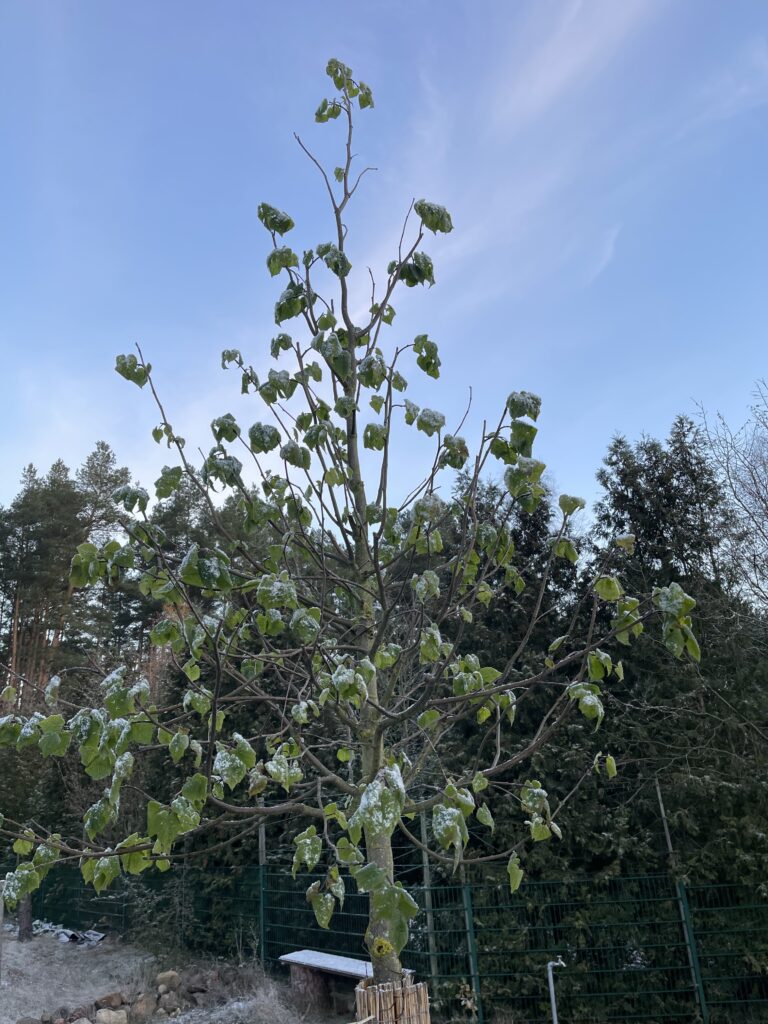
Winter finally arrived and brought a whole bunch of snow. In Berlin especially black ice. Monday I still managed to bike into work. But it was dangerously slippery. Of course the pedestrian and bike paths were mostly not cleared or gritted.
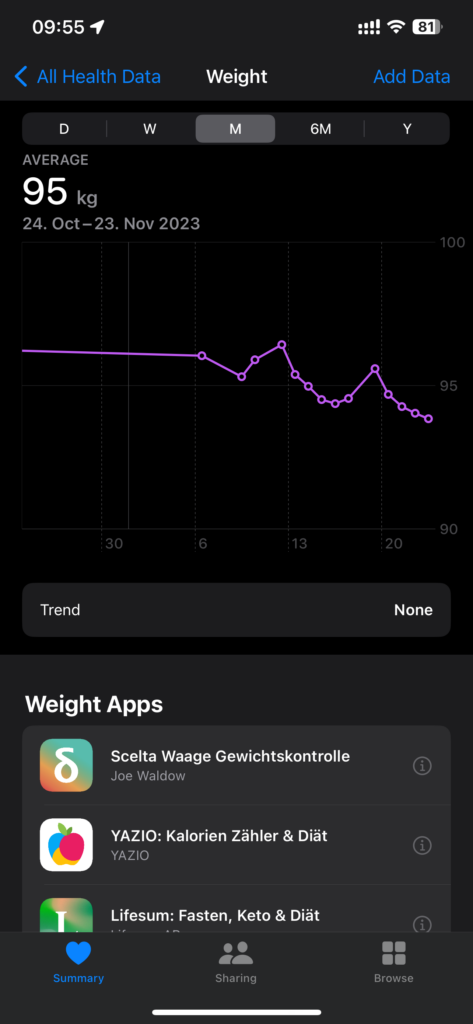
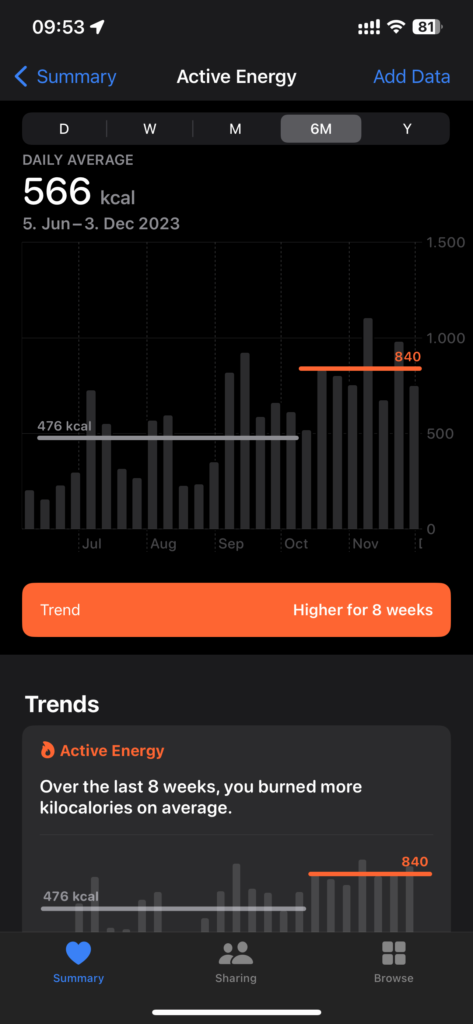
I’ve finally started to seriously try and loose some weight. My approach is a mix of special diet and more exercise.
On the diet side I’m trying a no-carb diet. Simply means avoid any carbohydrates in my diet. No other restrictions. No carbs is almost impossible as almost any food contains some of them. But I’m trying to stay well below 50g/day. Idea is that the body metabolism is adapting from burning carbohydrates for energy to burning fat for energy.
The effect is already visible on the scale 😉
Admittedly last weeks review was a little late. Too late… To make up for that, I’m publishing this one on Sunday 😉
Last Sunday our weekly swimming was really just a small group as most of the people were busy otherwise. Water was at around 6ºC. Didn’t try to cross the lake as there wasn’t enough time.
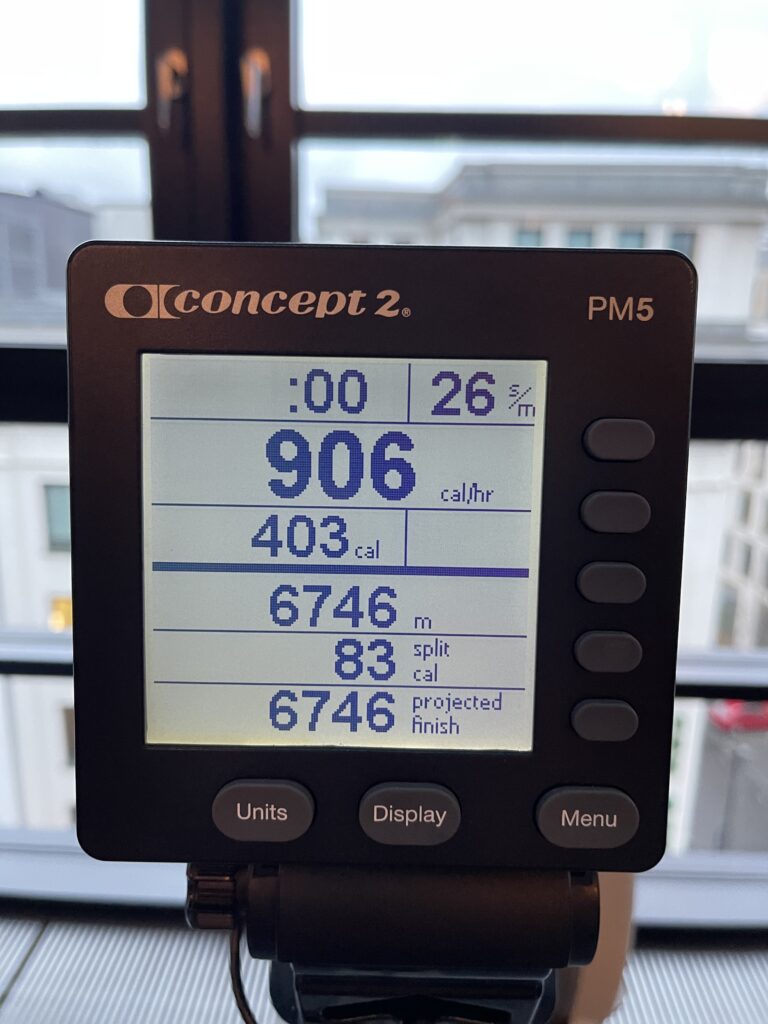
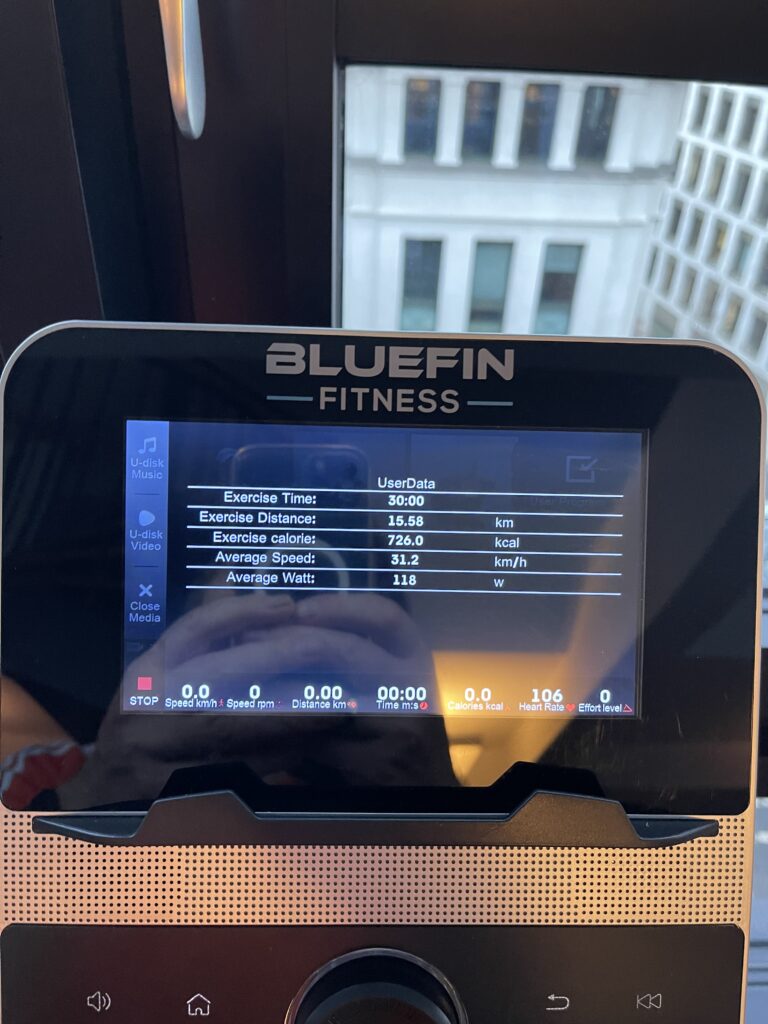
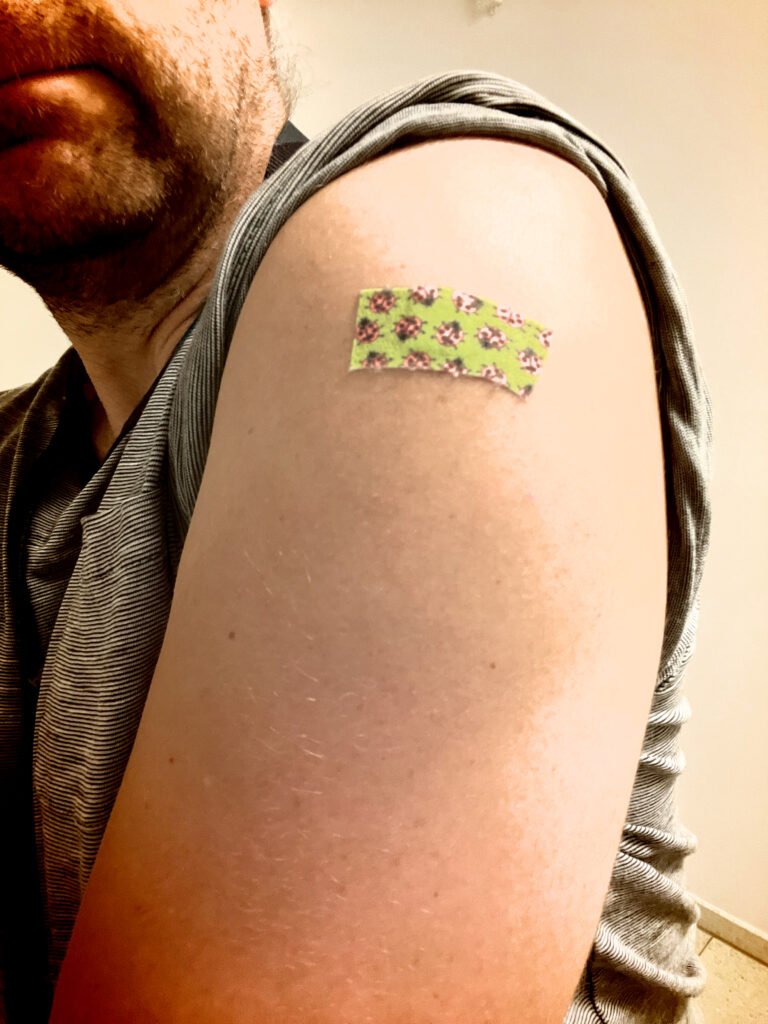
Started Monday with one hour of rowing in the office gym. Tuesday I made due with just half an hour of indoor cycling. That was the last day of the week I could properly exercise as on Tuesday morning I received my yearly flu vaccination from the company doctor and was advised to keep it low for the next few days to let the body build the antibodies against the flu.
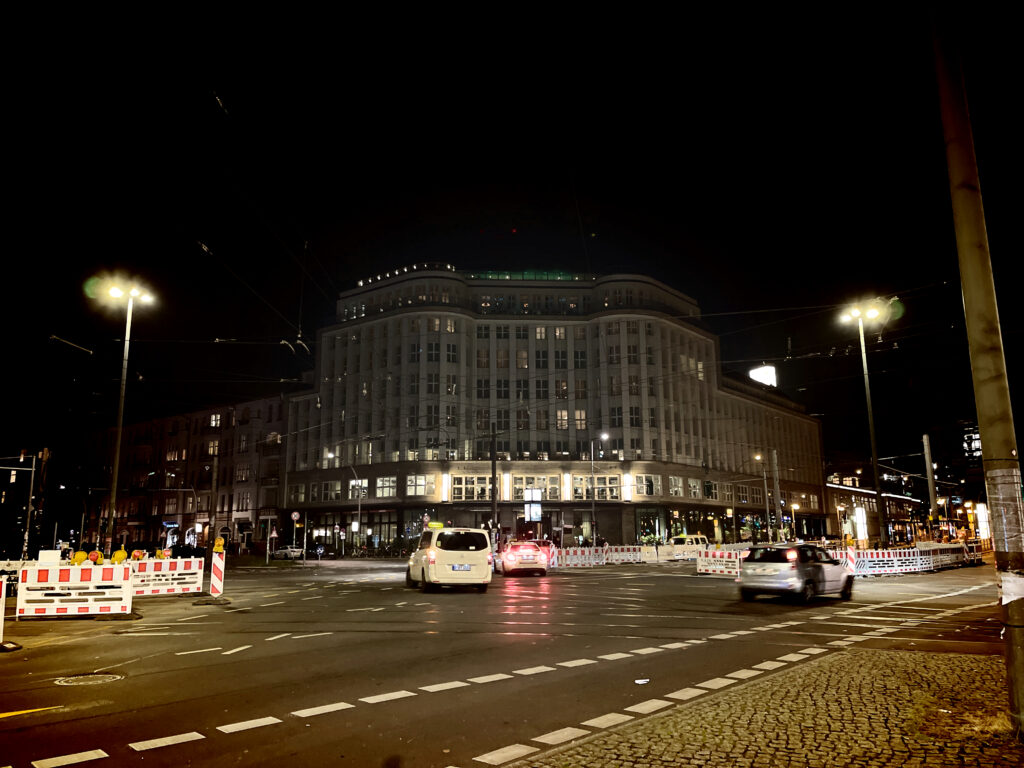
Nevertheless couldn’t resist to have a long walk Wednesday evening to get at least some exercise and fresh air.


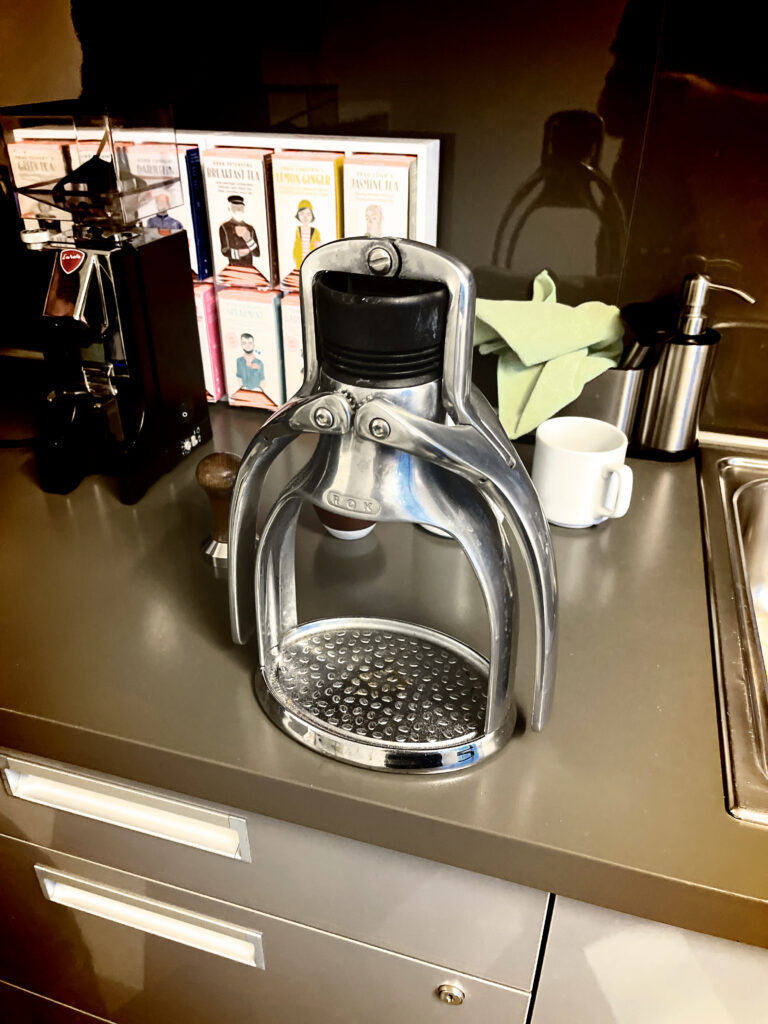
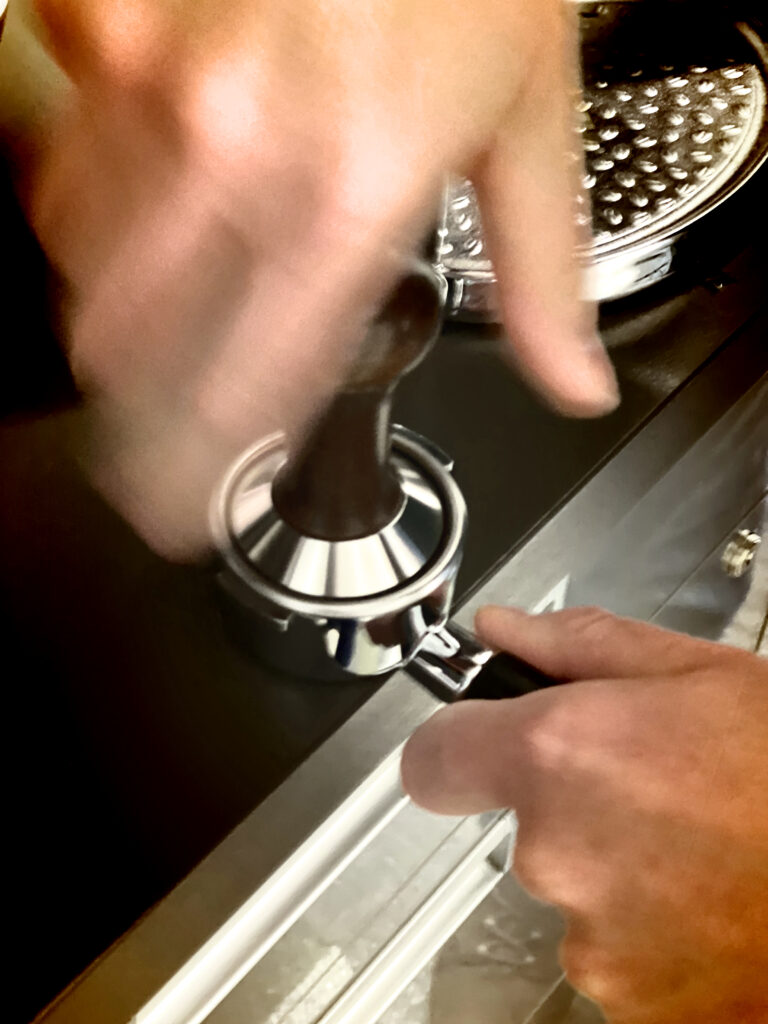
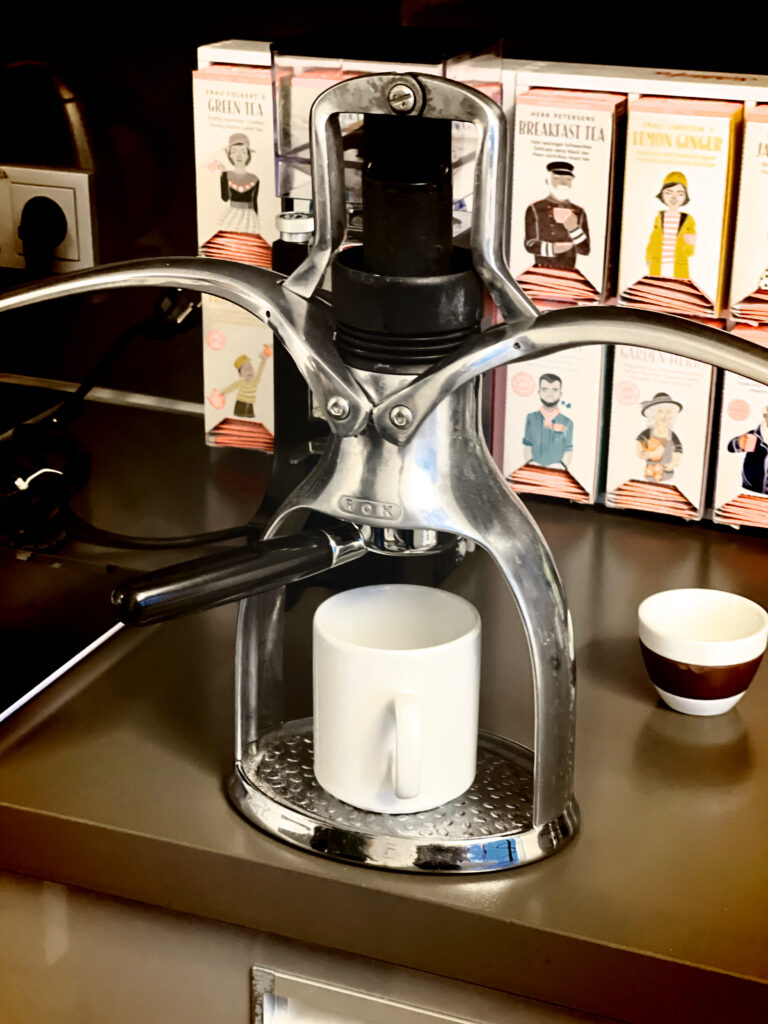
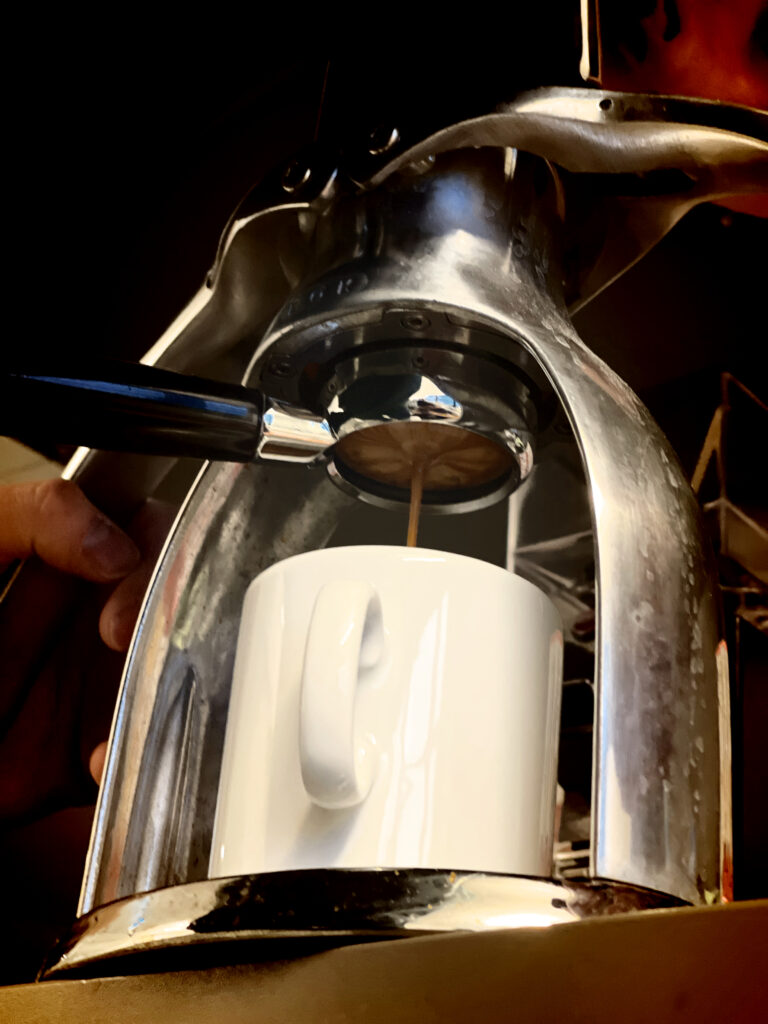
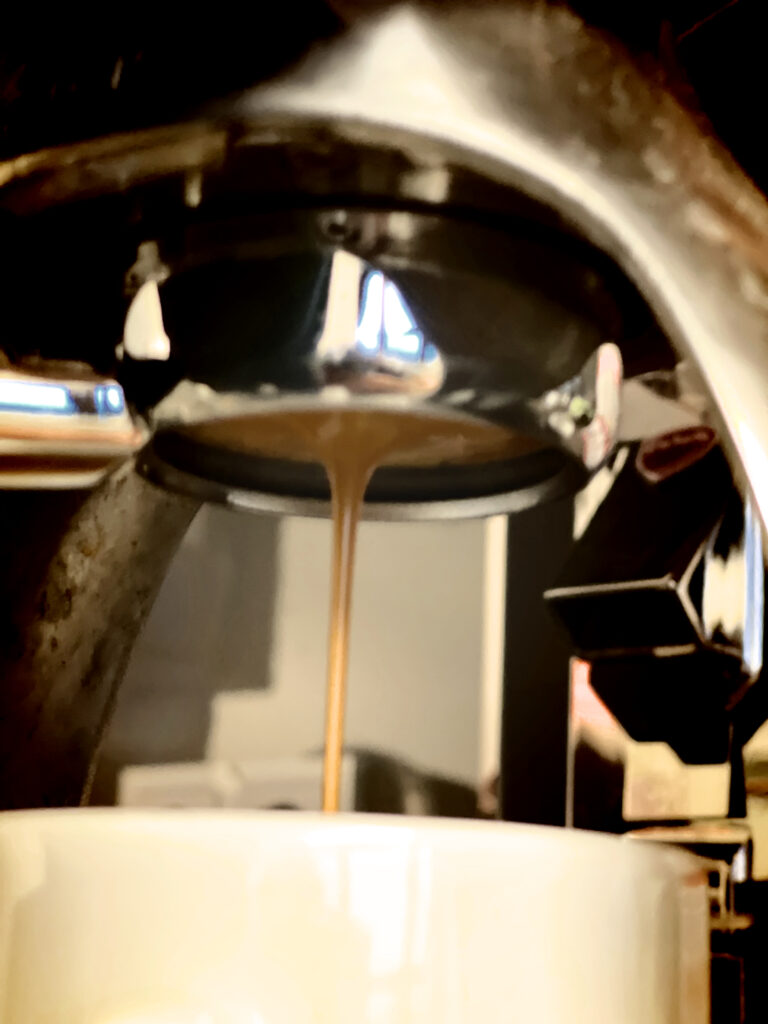
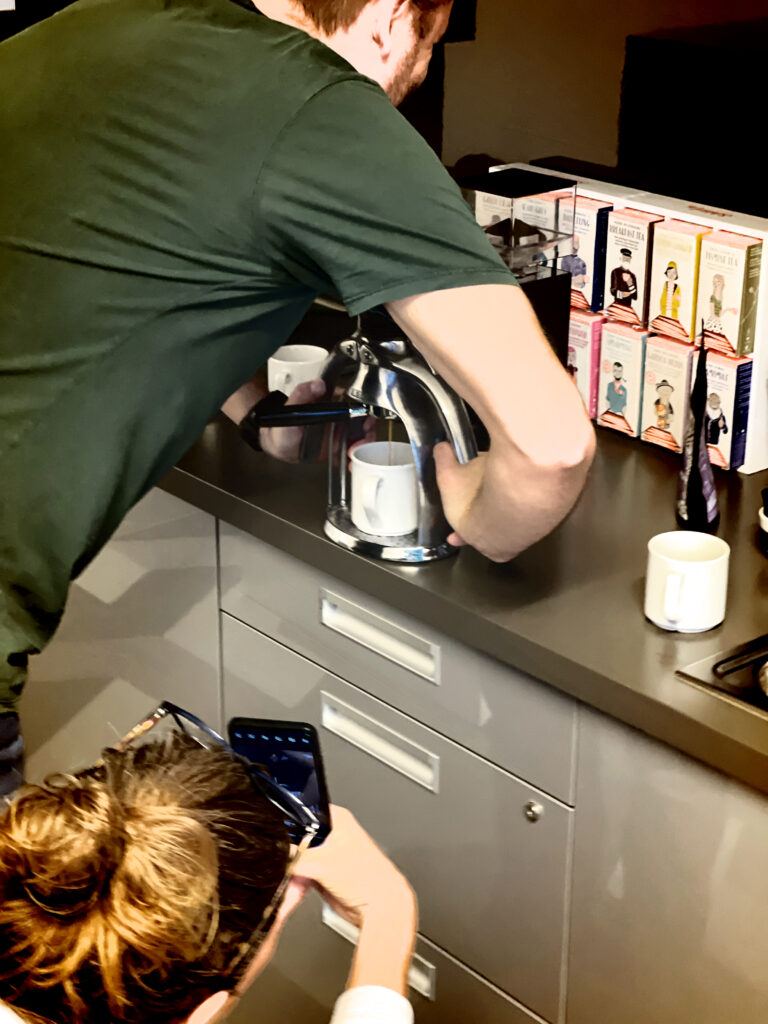
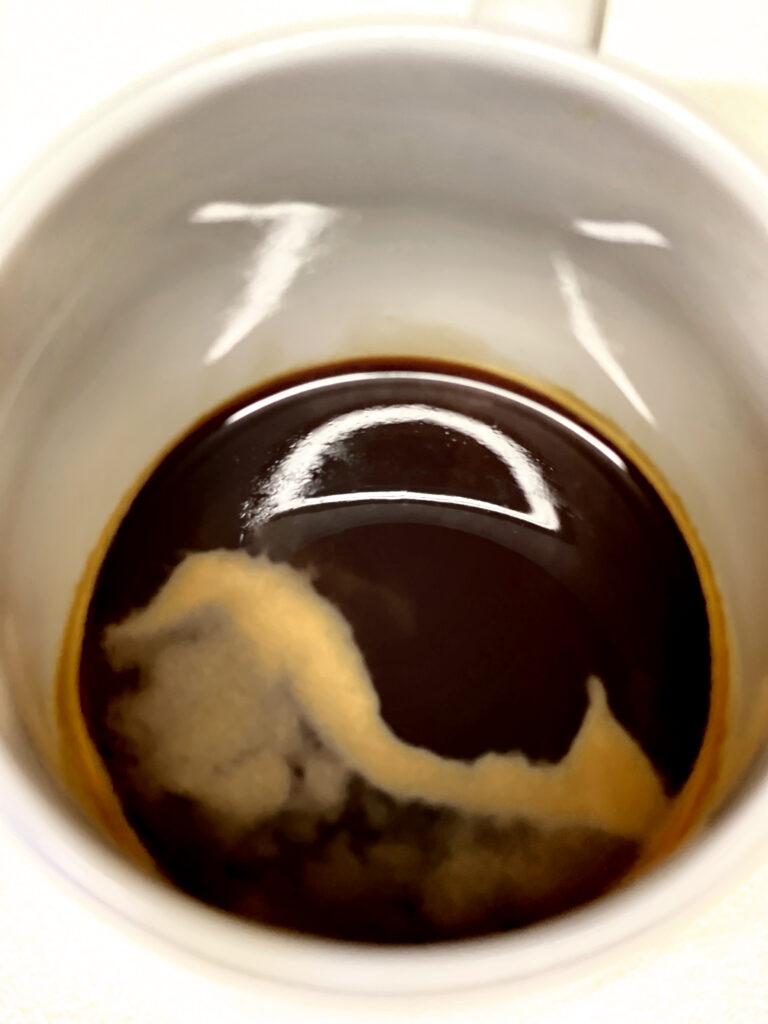
On this day the colleague brought his coffee equipment to the office. So we got to enjoy proper coffee and a show 😉
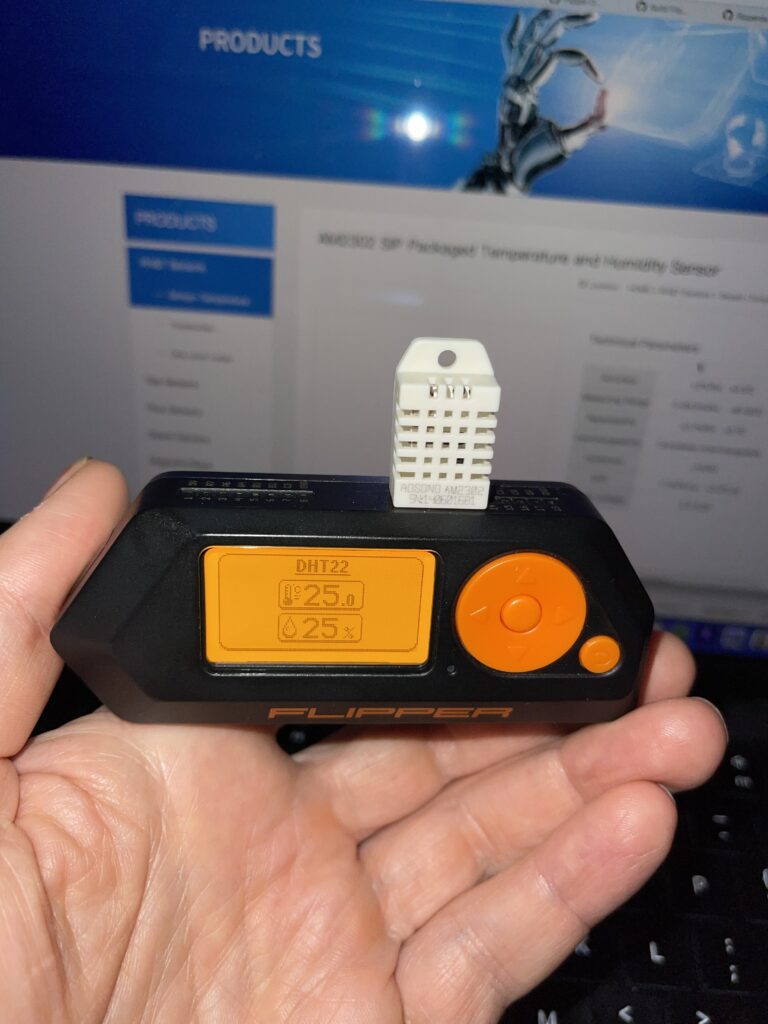
On Thursday I was tinkering around with the Flipper Zero and its new App Store. Found an App than can read and display the values of the most popular temperature sensors.
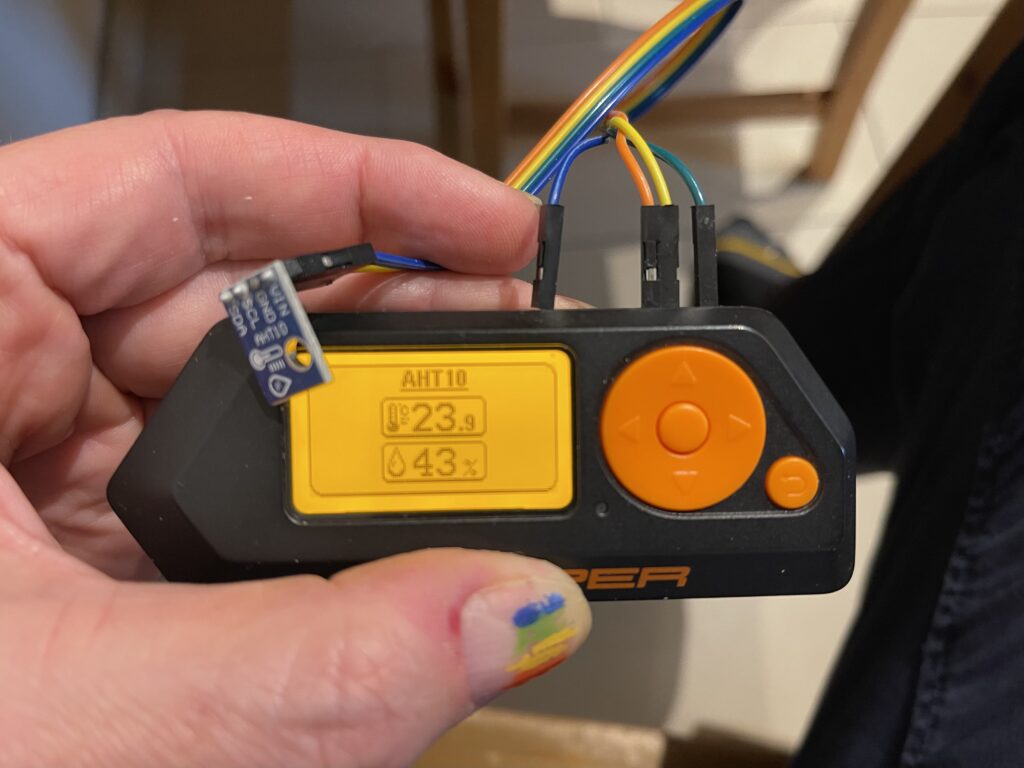
Unfortunately the App broke a little later when Flipper pushed out an updated firmware. I checked the repository of the app and tried to build the app myself fixing the things the build process was complaining about.
And after half a night of trial and error I got it running eventually and was able to build me the smallest weather station. I still had a DHT22 sensor which I consider quite bulky for my other projects. But it’s pin-out fits directly into the Flipper Zeros GPIO ports:
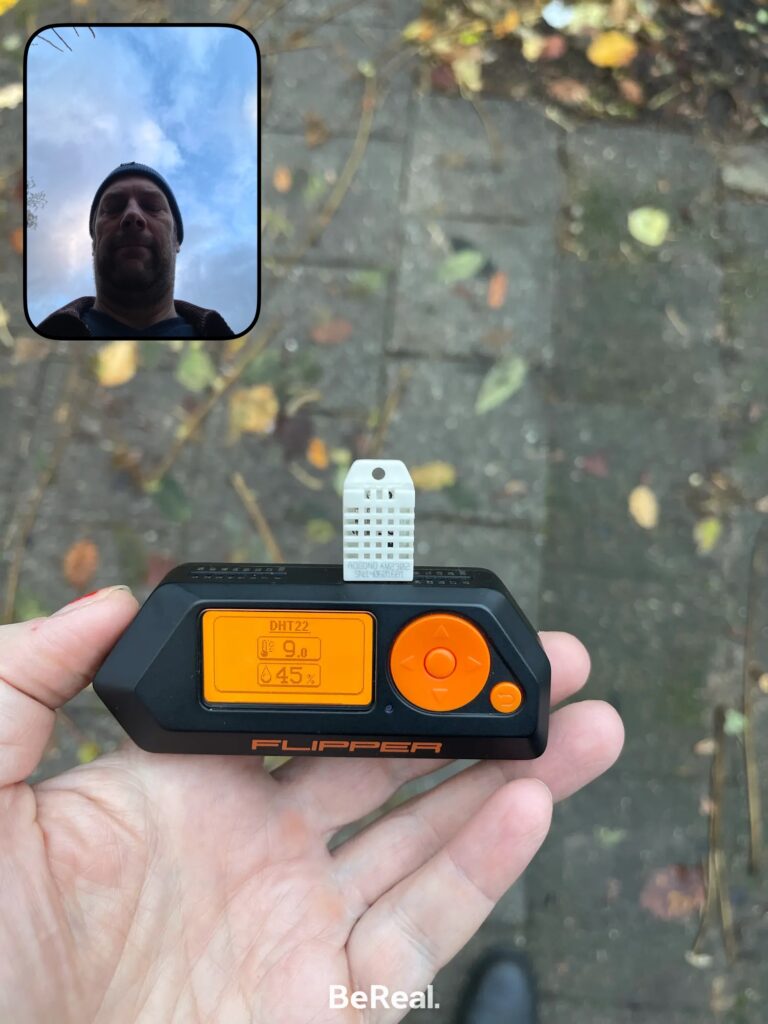
The thingy even had a cameo in one of my BeReals 😉
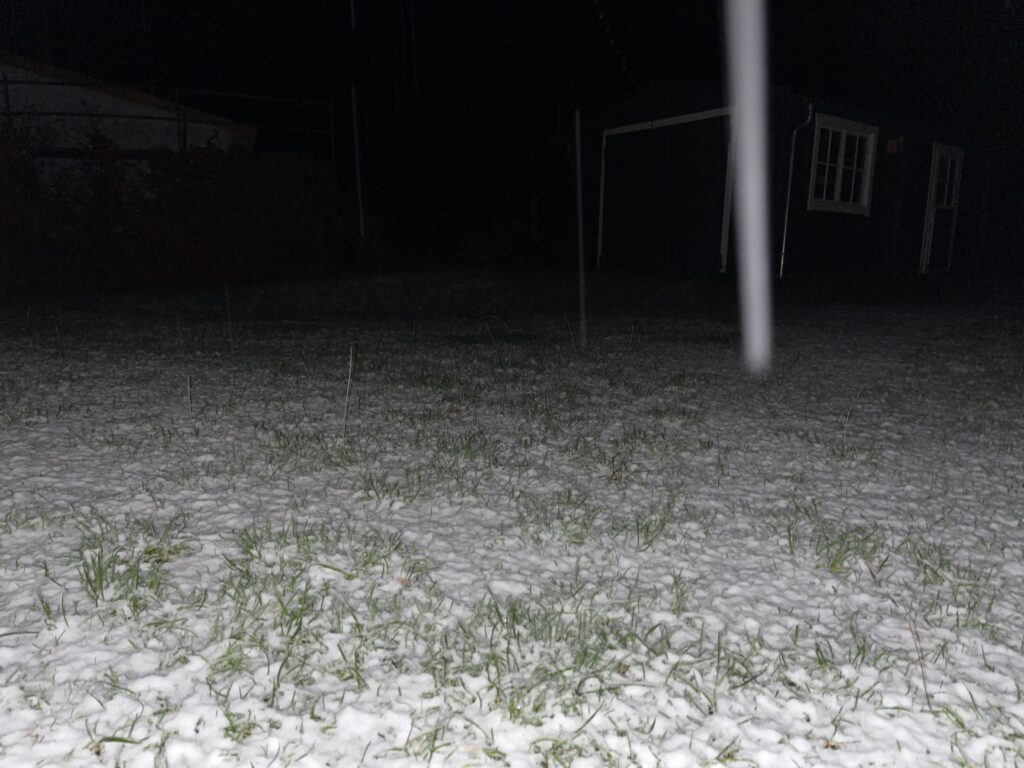
Friday it finally got more seriously cold. During the week we already had a low of -6ºC on the countryside and even Berlin had around -2ºC.
Friday Evening it even started to snow. Enough to cover the lawn with a thin blanket of snow.
Saturday evening we had our annual party of the “Leben in Groß Dölln e.V.”. It was a lovely get-together again in a great venue. Everyone brought their favourite food to share and good wine. Lot’s of fun and inspiring conversations. Really good to see the village community still thriving and growing.
After the successful mushroom foraging session on Saturday it was now my duty to risk my life and eat them.
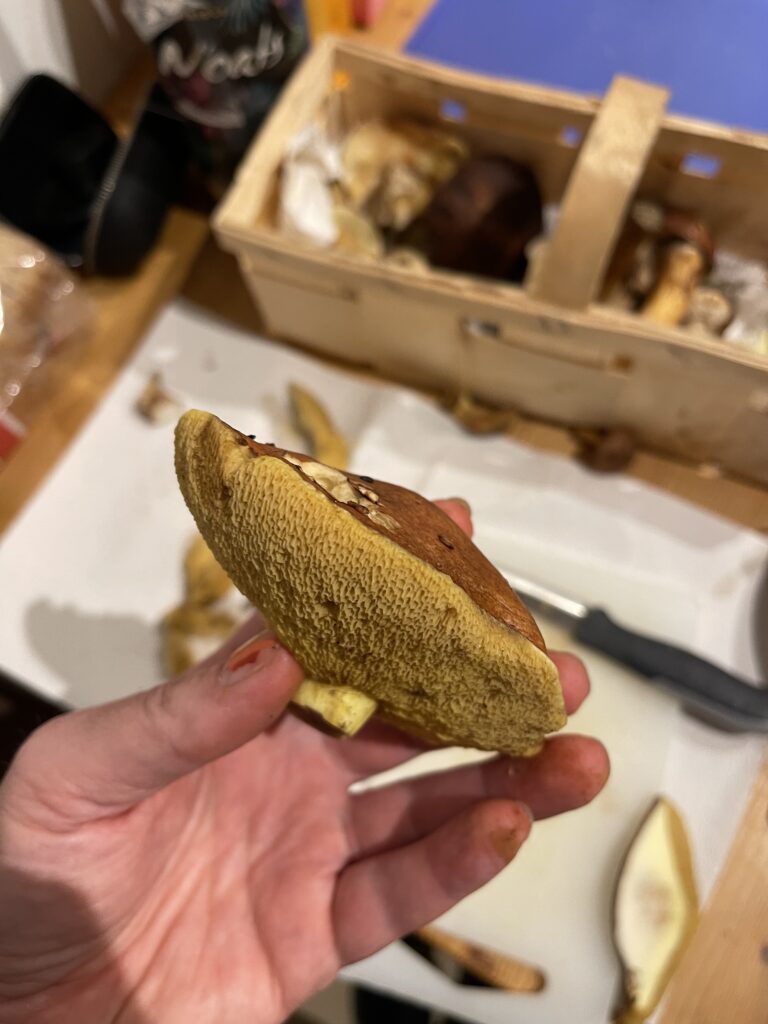
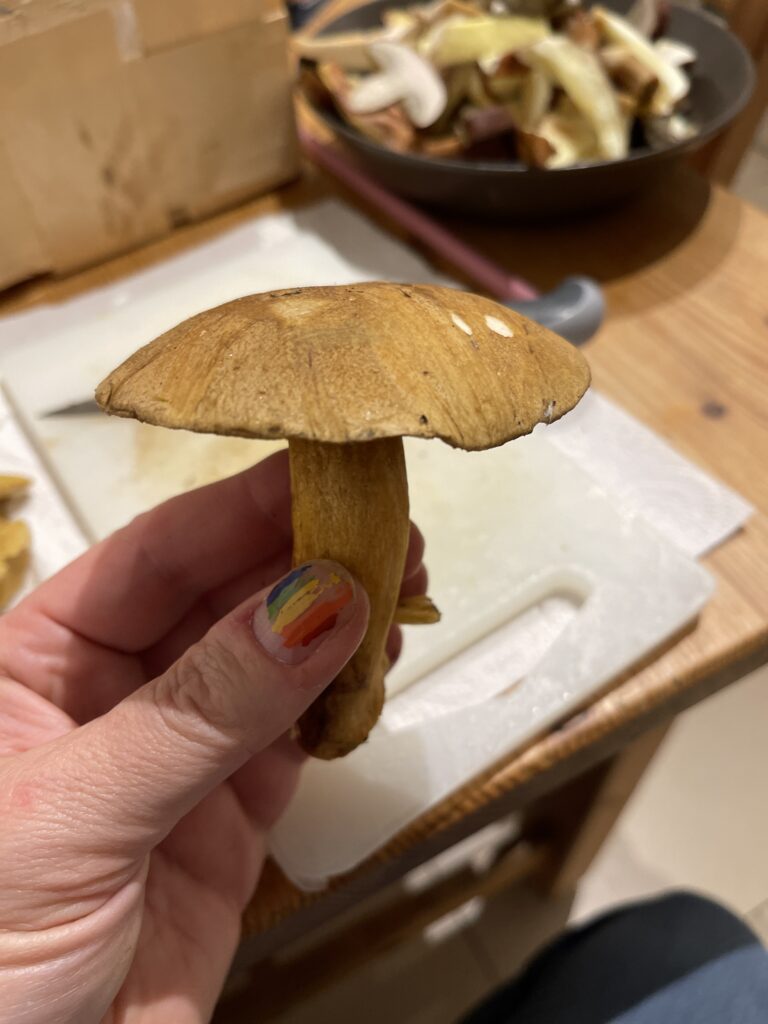
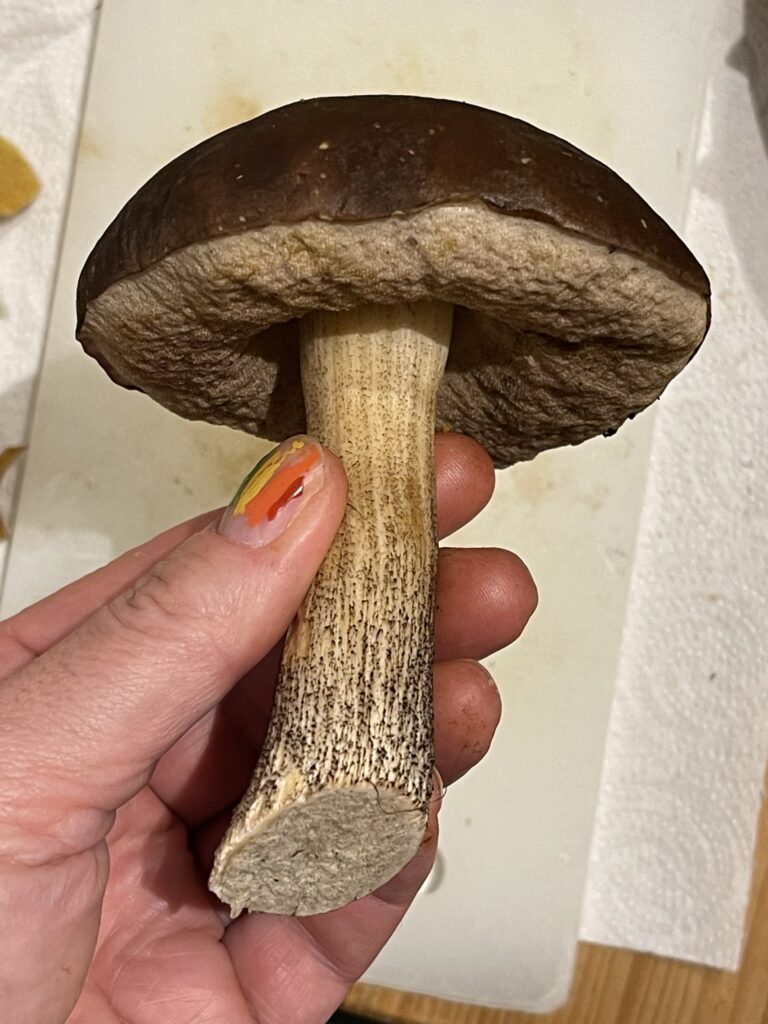
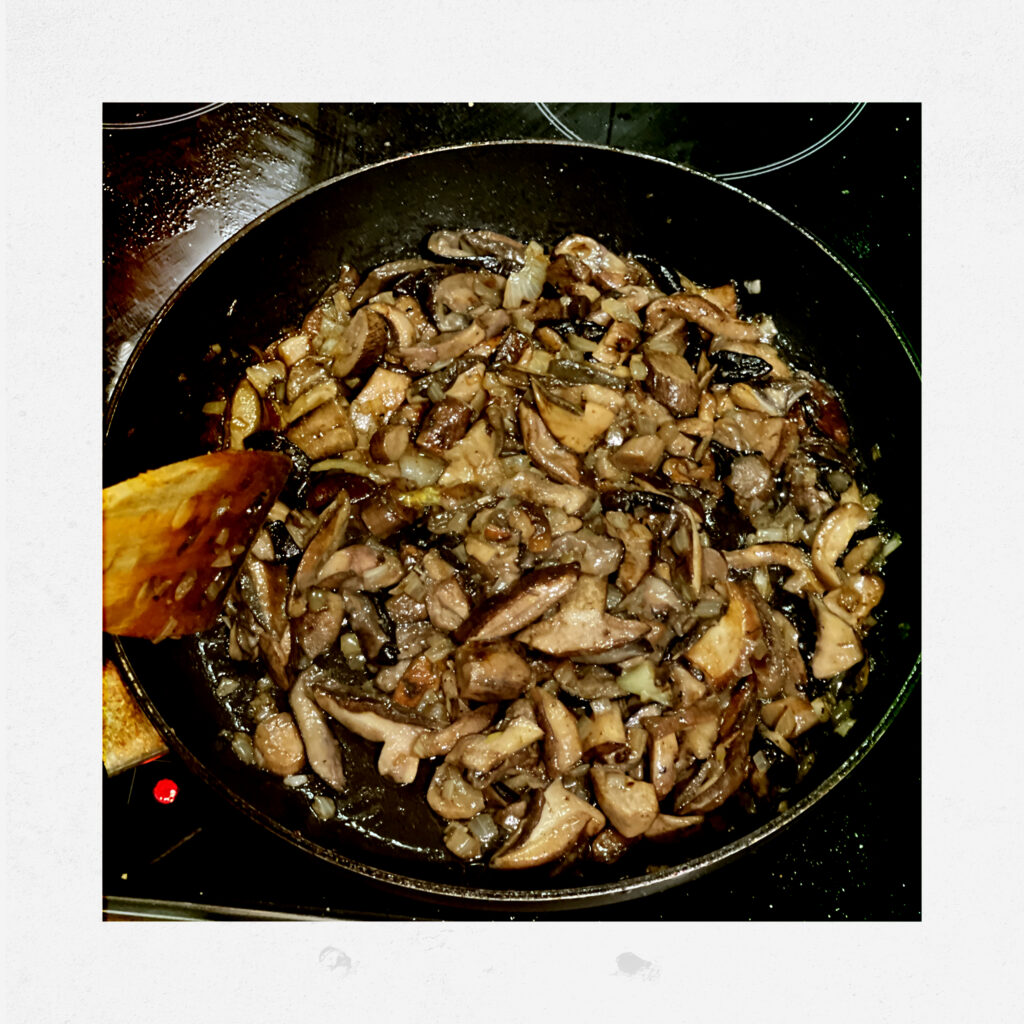
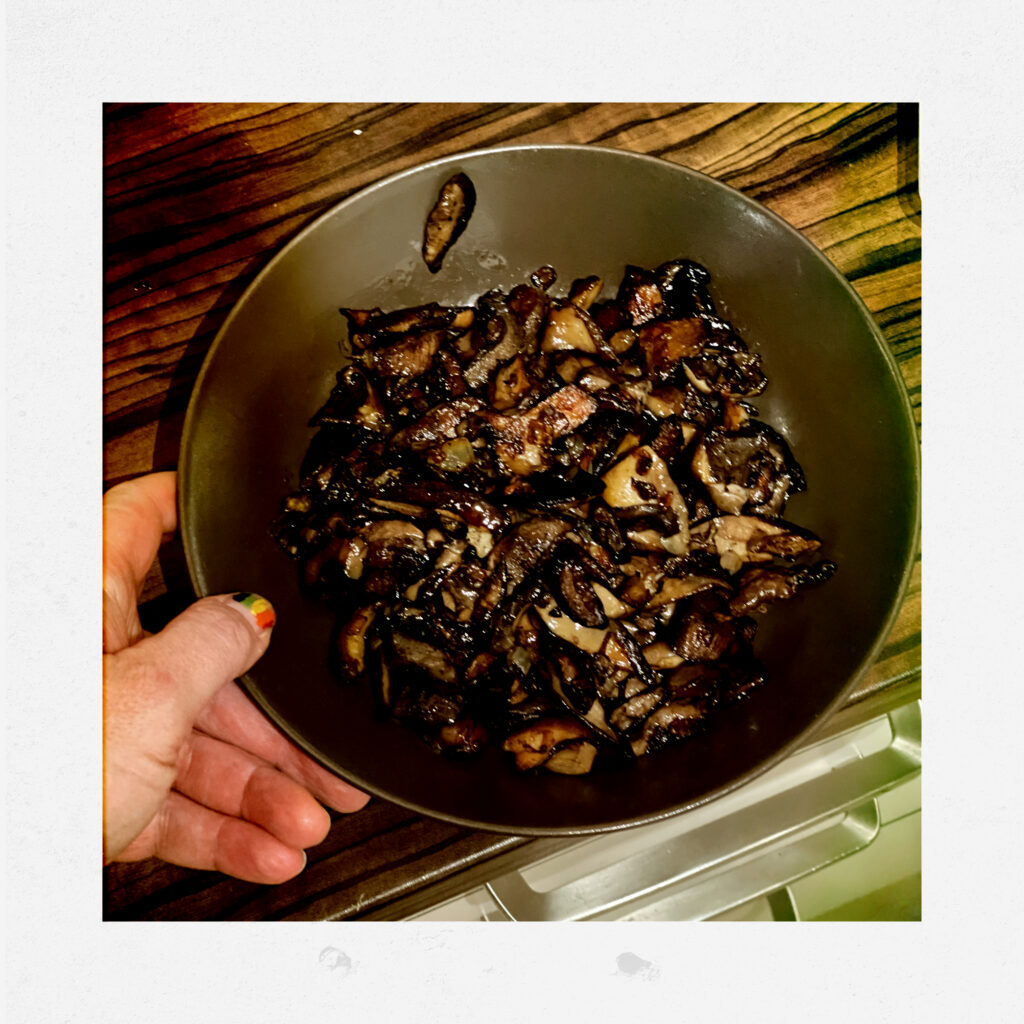
If you’re reading this … I survived 😉 Turned into one delicious meal 😉
Was playing around with ownTracks as a self-hosted location tracking app. The idea is to have the ability to track various mobile devices but keep the data under my control. While the built-in iOS (“Find my”) and Android (Google Maps) are convenient, the also leave the data on Apples/Google server to fuck around with.
ownTracks is a simple app that can send the position data to an arbitrary MQTT backend. I’m hosting my own Mosquitto instance and use the ownTracks Recorder app to visualise the data on OpenStreetMaps.
The connection to the MQTT broker is of course using TLS encryption. To add security and hide the data from the MQTT broker one can define an encryption passphrase. Now the MQTT broker sees only encrypted data. Via this secret you can also share your position with friends. All devices with the same encryption key can see the location of the other members.
It gets interesting when you add POIs and geofences. The clients can send a special message when leaving or entering a certain location. This way one can automate geo location based events (e.q. the classical “turn the lights on when I’m coming home” example etc.). The ownTracks Recorder app also records “tracks” means it doesn’t only collect the individual points but draws line/routes where one moved. So you can display your own moving profile over time.
Wednesday
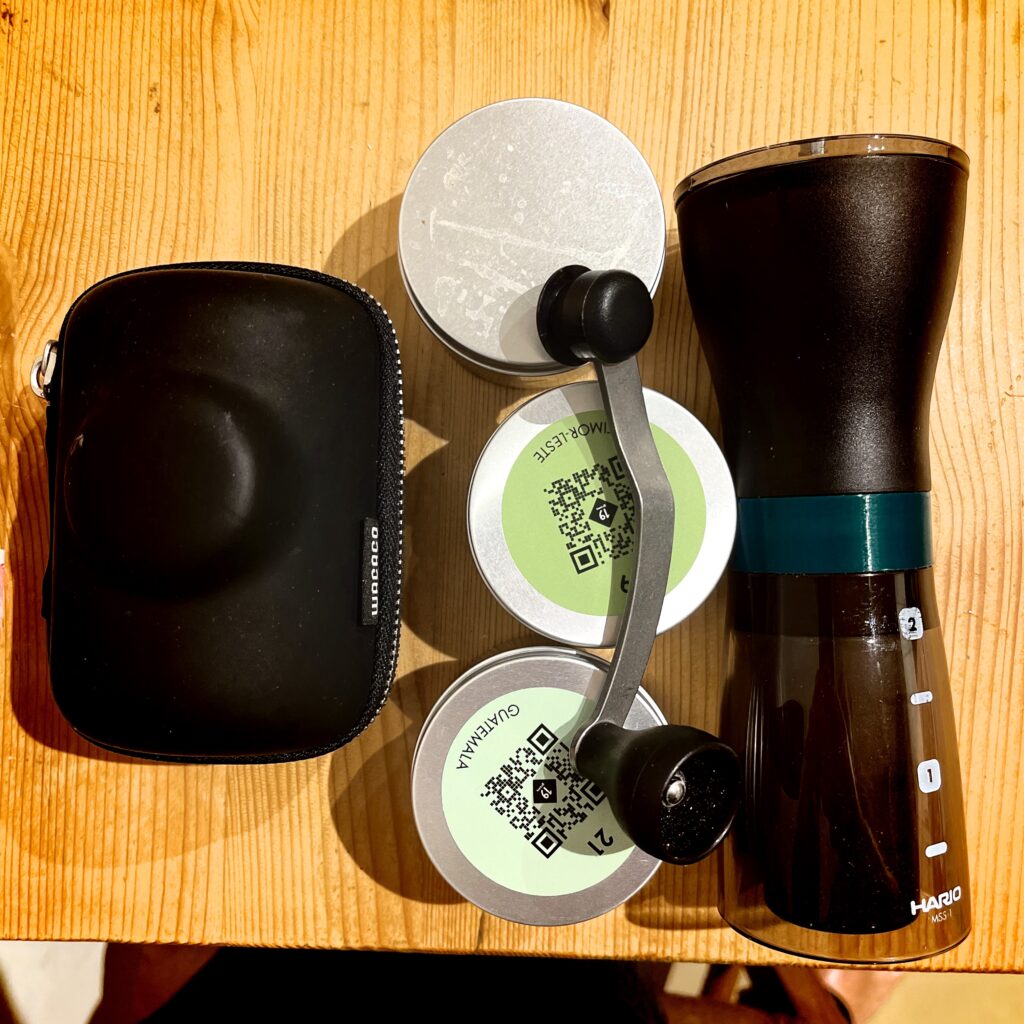
I felt fancy and took my coffee gear to the office. Thats the Wacaco Picopresso and the HARIO Travel Grinder. I pre-weighed the coffee beans at home and stored them in the little metal containers I’ve kept from my coffee bean advent calendar last year.
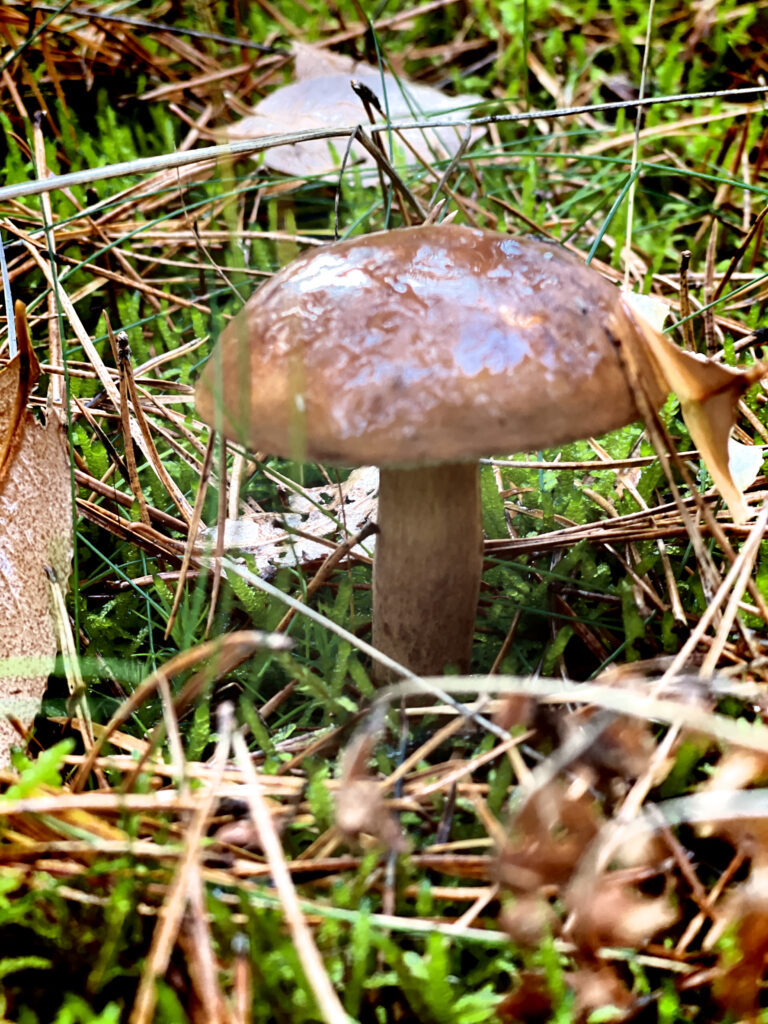
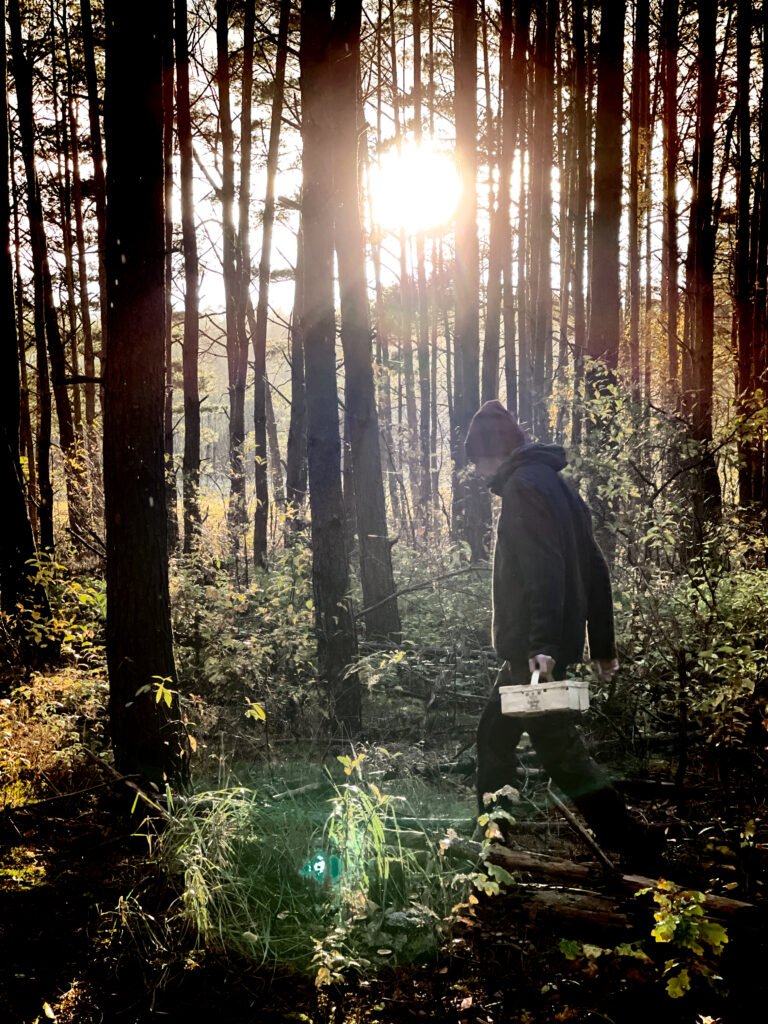
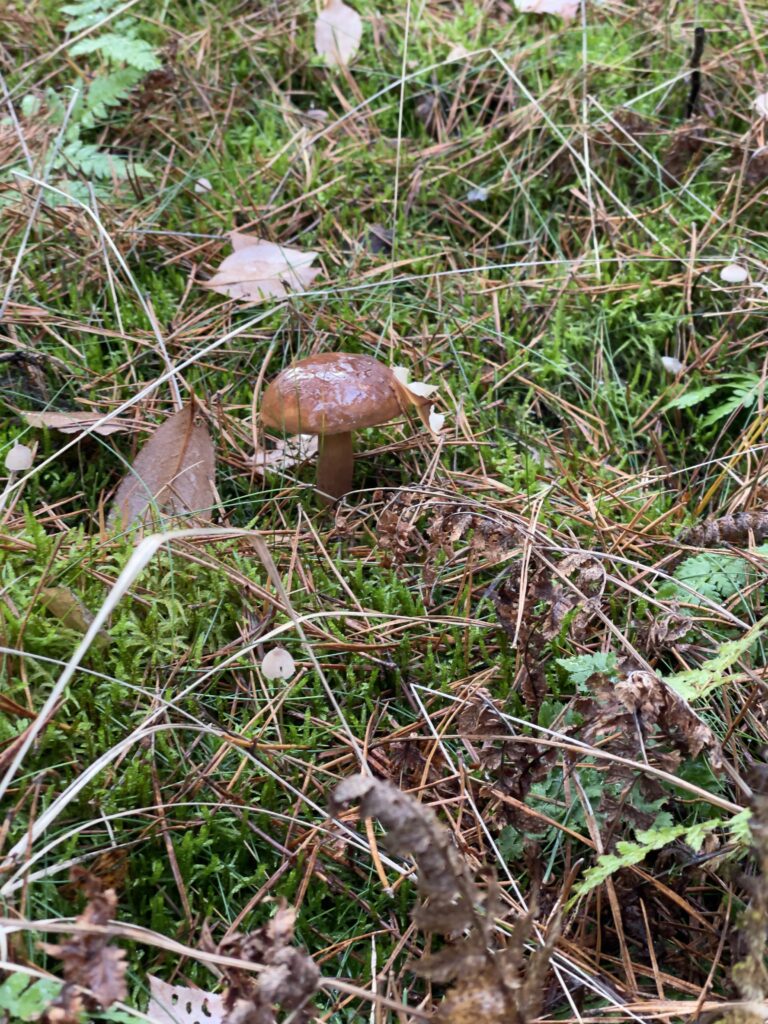
Saturday – mushrooms again
On Saturday we’ve been invited over to our friends place in the next village for a little walk in the forest and maybe some mushroom picking again.
And it was crazy. On just a 30m strip right outside the village we filled 3 baskets of mushrooms and had to stop as our storage capacity was exceeded. Those will be cut into small pieces and dried up for later use. Mostly in sauces to stews and the like.